Hotline: +84 981638588
Email: info@lochoangan.com No. 105 Hoang Van Thai Street, Phuong Liet Ward, Ha Noi, Vietnam
Solar power system design and installation must follow a structured process, from assessing electricity requirements and site conditions to installation, testing, and handover. Each stage directly affects energy production, safety, investment costs, and long-term system performance.
Every project has different electricity consumption patterns, load profiles, roof areas, and installation conditions. Therefore, a solar power system should not be ed solely based on monthly electricity bills or available roof space.
A proper assessment and design process helps to:
Determine system capacity based on actual demand
Maximize the use of available installation space
Minimize losses caused by shading and electrical connections
Ensure electrical safety and structural integrity
Select compatible equipment
Facilitate operation, maintenance, and future expansion
Control investment costs from the outset
The service provider collects essential information about the project and investment objectives. This information helps determine the initial system type, capacity, and operating configuration.
Key information includes:
Installation location
Type of building or facility
Monthly electricity consumption
Main electricity usage periods
Objectives for cost reduction or backup power
Requirements for grid-tied, off-grid, or storage systems
Estimated investment budget
Plans for future load expansion
For factories and manufacturing facilities, additional considerations include peak power demand, operating schedules, critical loads, and production line requirements.
The design team reviews electricity bills over several months to assess average consumption and seasonal variations.
However, monthly electricity consumption alone does not fully reflect actual demand. Load profiles should also be analyzed to determine electricity usage during daytime, nighttime, and peak hours.
This analysis helps answer key questions:
What solar power capacity is appropriate?
Will the generated electricity be fully utilized?
Is battery storage necessary?
Which loads must remain operational during power outages?
What is the estimated payback period?
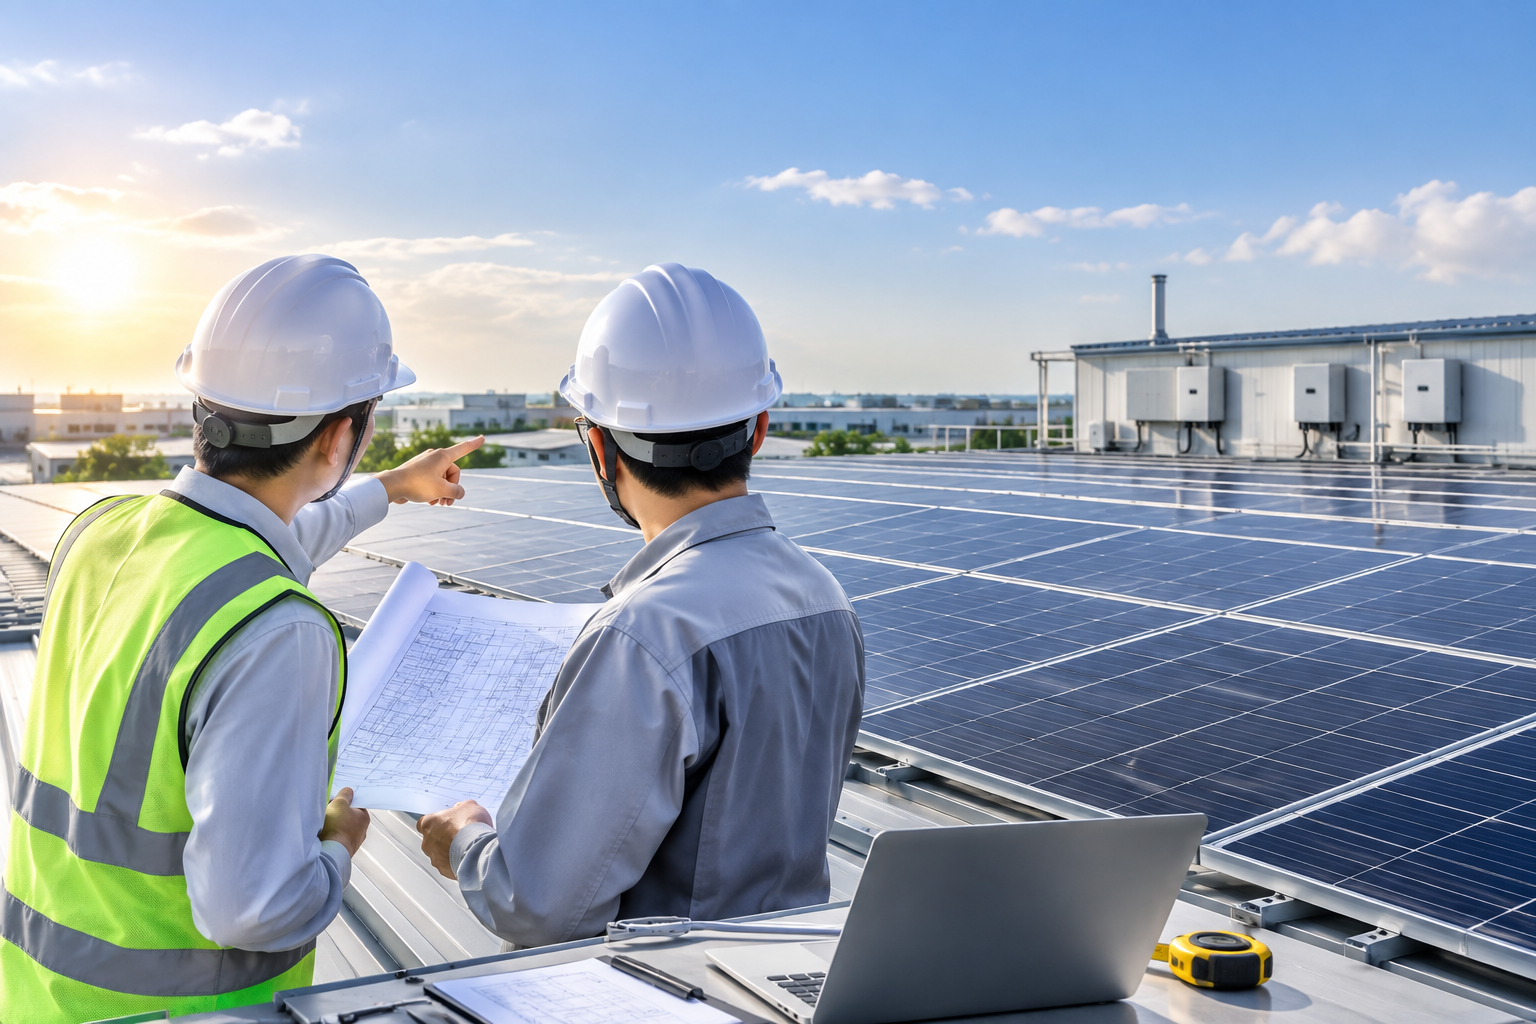
Technicians inspect the proposed locations for solar panels, inverters, battery storage, and electrical panels. The survey typically covers:
Available roof or ground installation area
Roof orientation and tilt angle
Roof structure and load-bearing capacity
Existing metal, tiled, or concrete roof conditions
Potential shading obstacles
Connection points to the existing electrical system
Distance between solar panels and the inverter
Locations for electrical panels and protection devices
Drainage, ventilation, and fire safety conditions
Access for installation, cleaning, and maintenance
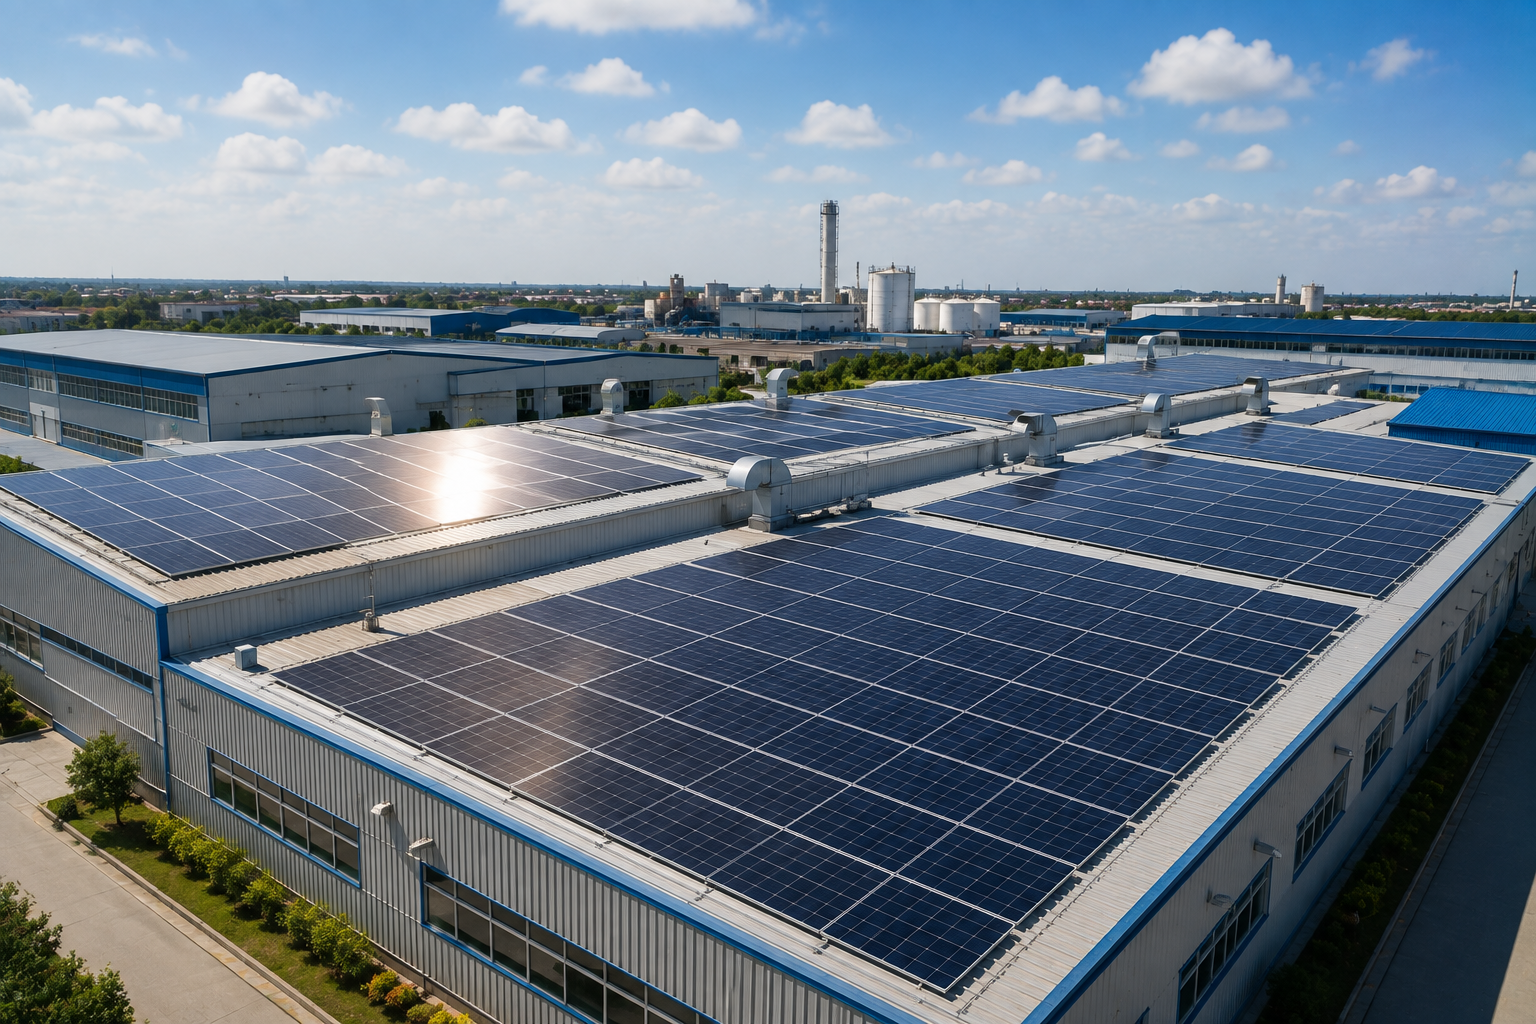
For industrial buildings, roof structural assessments are particularly important for ing suitable panel layouts and mounting structures.
Based on customer requirements and site conditions, the provider recommends one of the following common system types.
Solar electricity is prioritized for operating loads. When generation is insufficient, additional electricity is drawn from the utility grid. This system is suitable for facilities with high daytime electricity consumption.
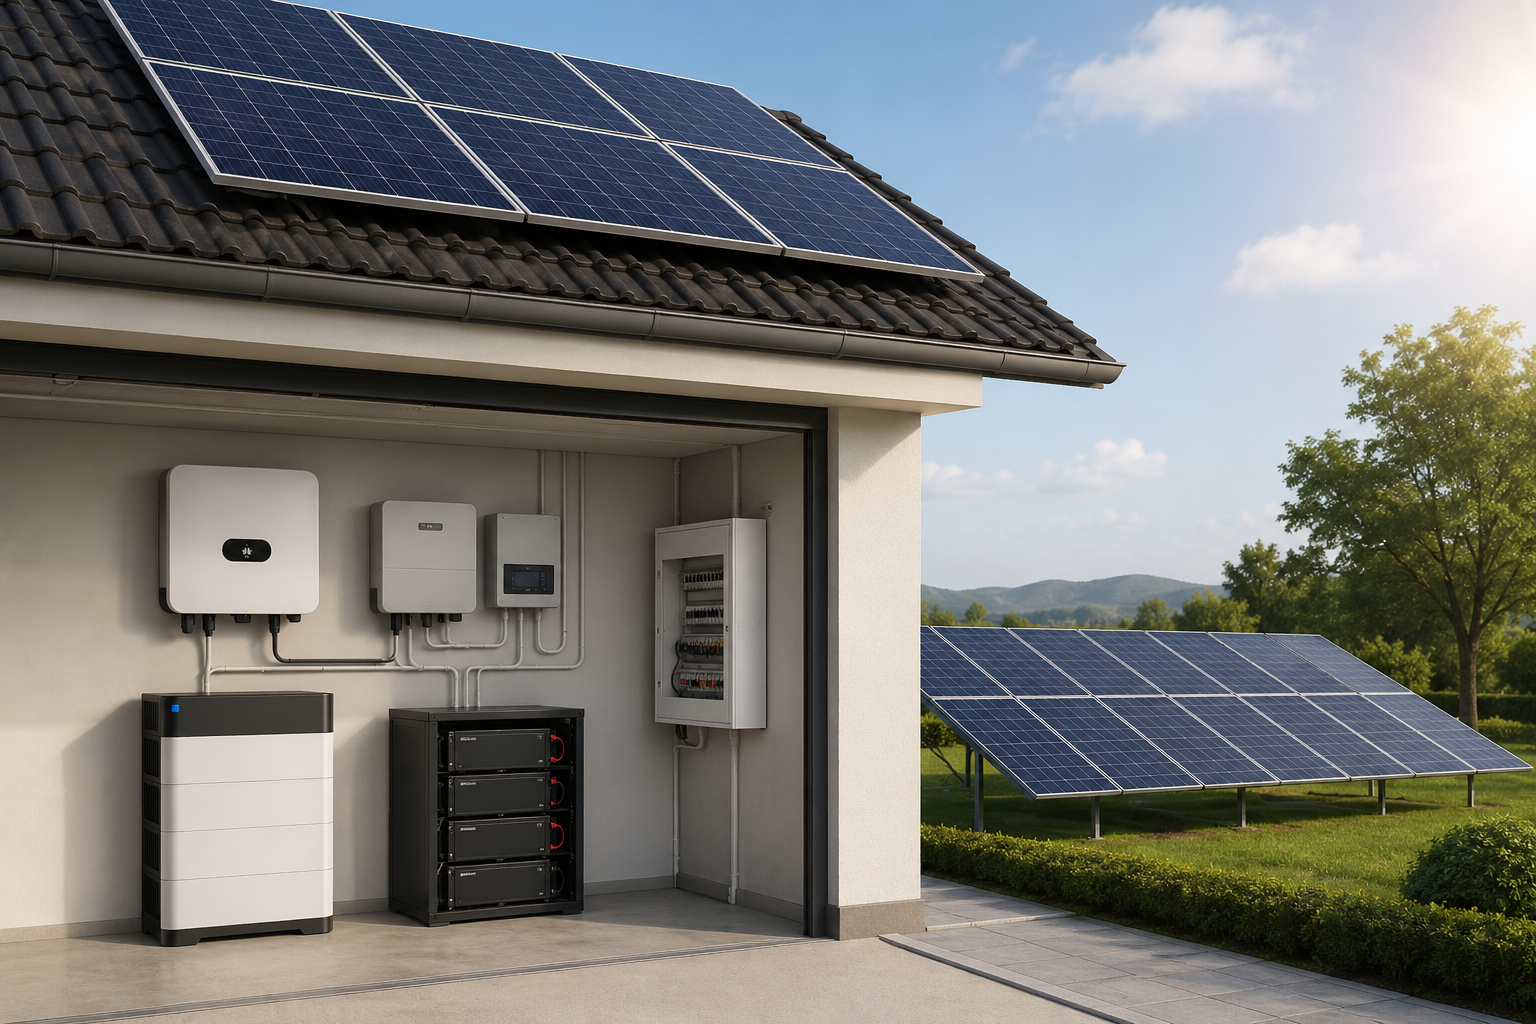
Excess solar electricity is stored in batteries for nighttime use or during power outages. This option suits facilities requiring backup power or greater energy independence.
This system operates independently of the utility grid and typically combines solar panels, an inverter, and battery storage. It is suitable for locations without grid access or with an unreliable electricity supply.
Choosing the right system type helps avoid unnecessary equipment costs and ensures the system meets its intended purpose.
System capacity is determined by several factors, not just roof area. The design team evaluates:
Total electricity consumption
Electricity usage during sunlight hours
Peak load demand
Local solar irradiation levels
System energy losses
Available panel installation area
Future expansion requirements
For systems with battery storage, additional calculations are required for battery capacity, charging and discharging power, and the desired backup duration.
A typical solar power system includes:
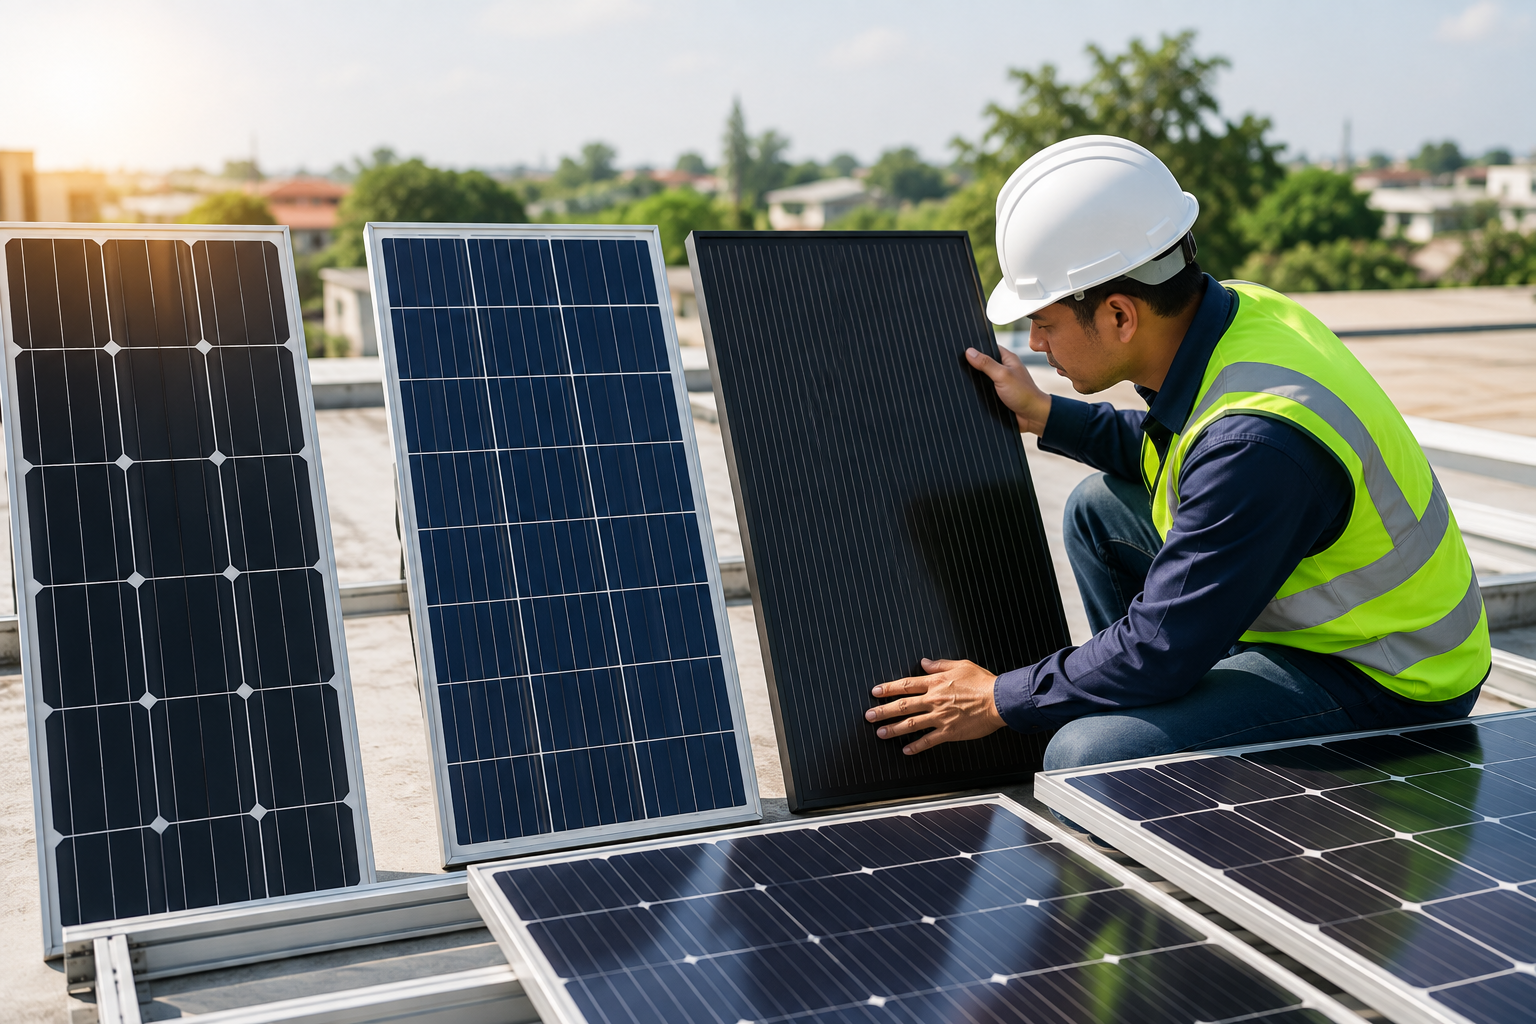
Solar panels
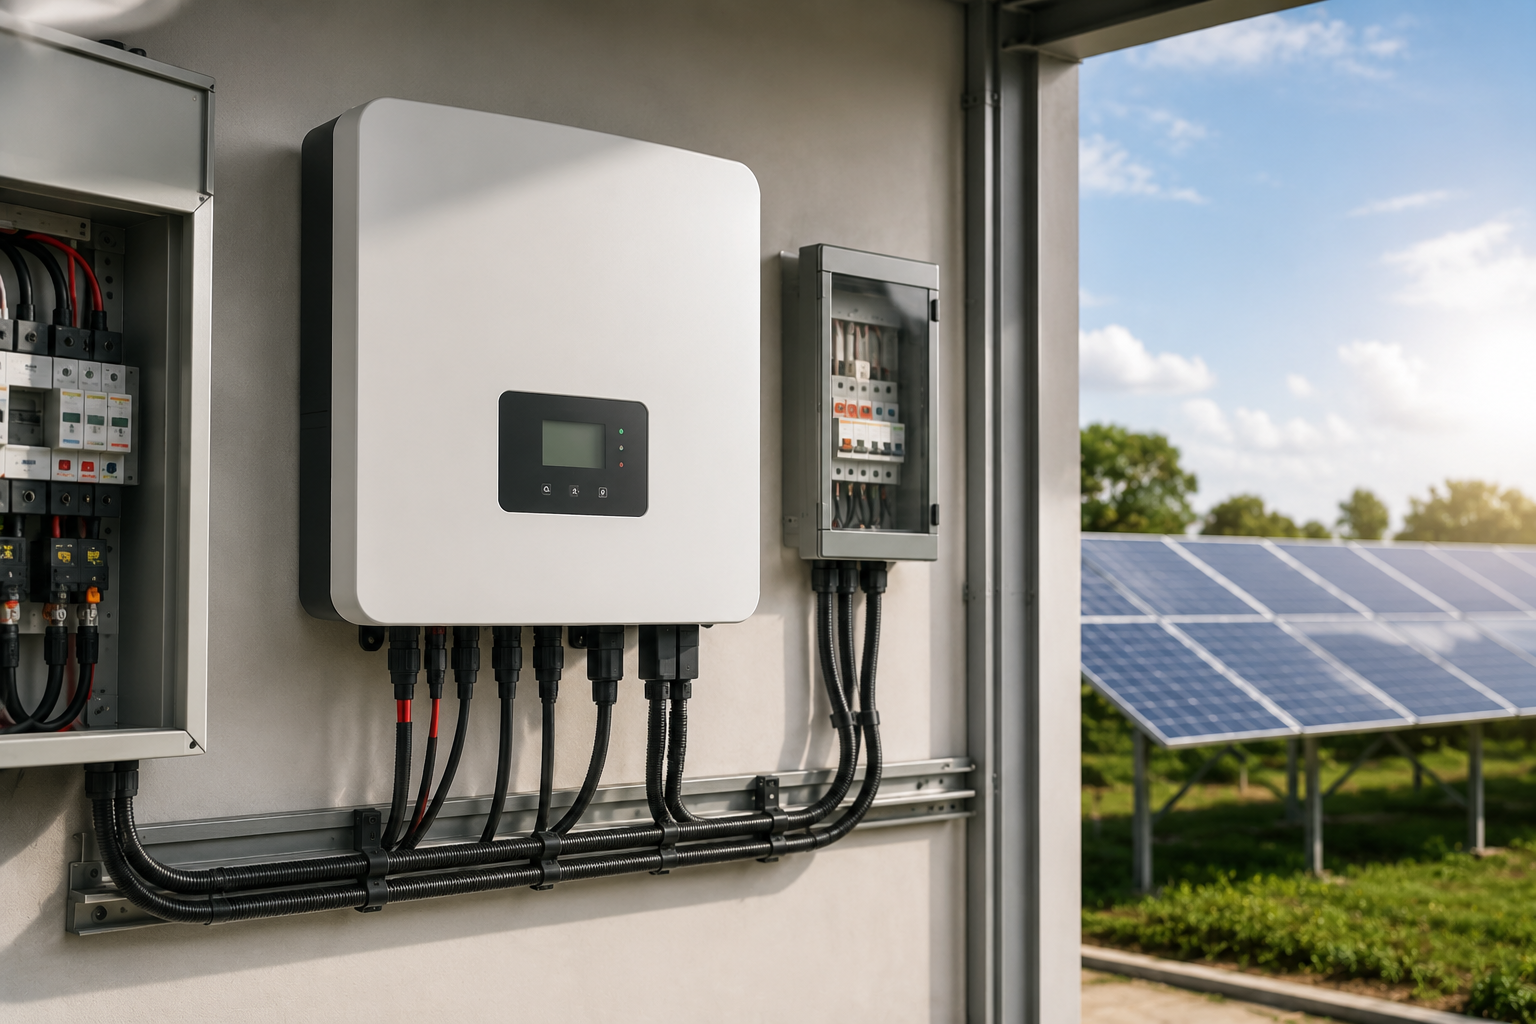
Grid-tied or hybrid inverter
Battery storage, if required
Battery Management System (BMS)
Mounting structures
DC and AC electrical panels
Switching and surge protection devices
Specialized cables and connectors
Energy meter
Monitoring system
Equipment must meet the required power ratings, voltage specifications, compatibility requirements, and installation conditions. Customers should also consider product origin, warranty terms, and technical support availability.
Once the system configuration is finalized, the provider prepares detailed technical documentation, which may include:
Solar panel layout drawings
Electrical connection diagrams
Solar string diagrams
Inverter and electrical panel locations
Mounting structure design
DC and AC cable routing
Grounding and lightning protection plans
Battery storage layout
Critical-load allocation
Equipment specifications
Technical drawings help installation teams coordinate effectively and minimize changes during construction.
The quotation should clearly define the scope of work, equipment specifications, and supply responsibilities. Typical items include:
Proposed installed capacity
Number and type of solar panels
Inverter capacity
Battery storage capacity, if applicable
Mounting structures and accessories
Electrical panels and protection devices
Transportation and installation costs
Monitoring system
Installation schedule
Warranty and maintenance terms
A transparent quotation allows customers to compare proposals based on the same scope of work rather than total investment cost alone.
Before installation, the provider verifies equipment quantities, product codes, and the condition of all materials. The site must also be prepared to ensure safety and minimize disruption to existing operations.
For operational factories, installation should be organized by area to minimize production interruptions and carefully manage work at height.
Mounting structures are installed according to the approved drawings, ensuring structural stability, appropriate clearances, and corrosion resistance. Solar panels are then positioned, secured, and connected into strings.
Key installation considerations include:
Preserving the roof's drainage capacity
Minimizing damage to waterproofing layers
Maintaining adequate ventilation for heat dissipation
Aligning panels consistently
Tightening connections according to technical requirements
Avoiding direct placement of cables on roof surfaces
The inverter should be installed in a dry, well-ventilated location, away from excessive direct sunlight and accessible for inspection. Electrical panels must have sufficient clearance for operation, switching, and maintenance.
For systems with battery storage, the installation area must meet temperature, ventilation, safety clearance, and manufacturer requirements. The battery, BMS, and inverter must communicate reliably to control charging and discharging.
DC cables, AC cables, and communication cables are routed according to the design. All connections must have correct polarity, secure fastening, clear identification, and appropriate environmental protection.
Electrical connection work includes:
Connecting solar panel strings
Connecting solar panels to the inverter
Connecting the inverter to electrical panels
Connecting battery storage and the BMS
Connecting the energy meter and monitoring equipment
Completing the grounding system
Integrating the system with the existing electrical installation
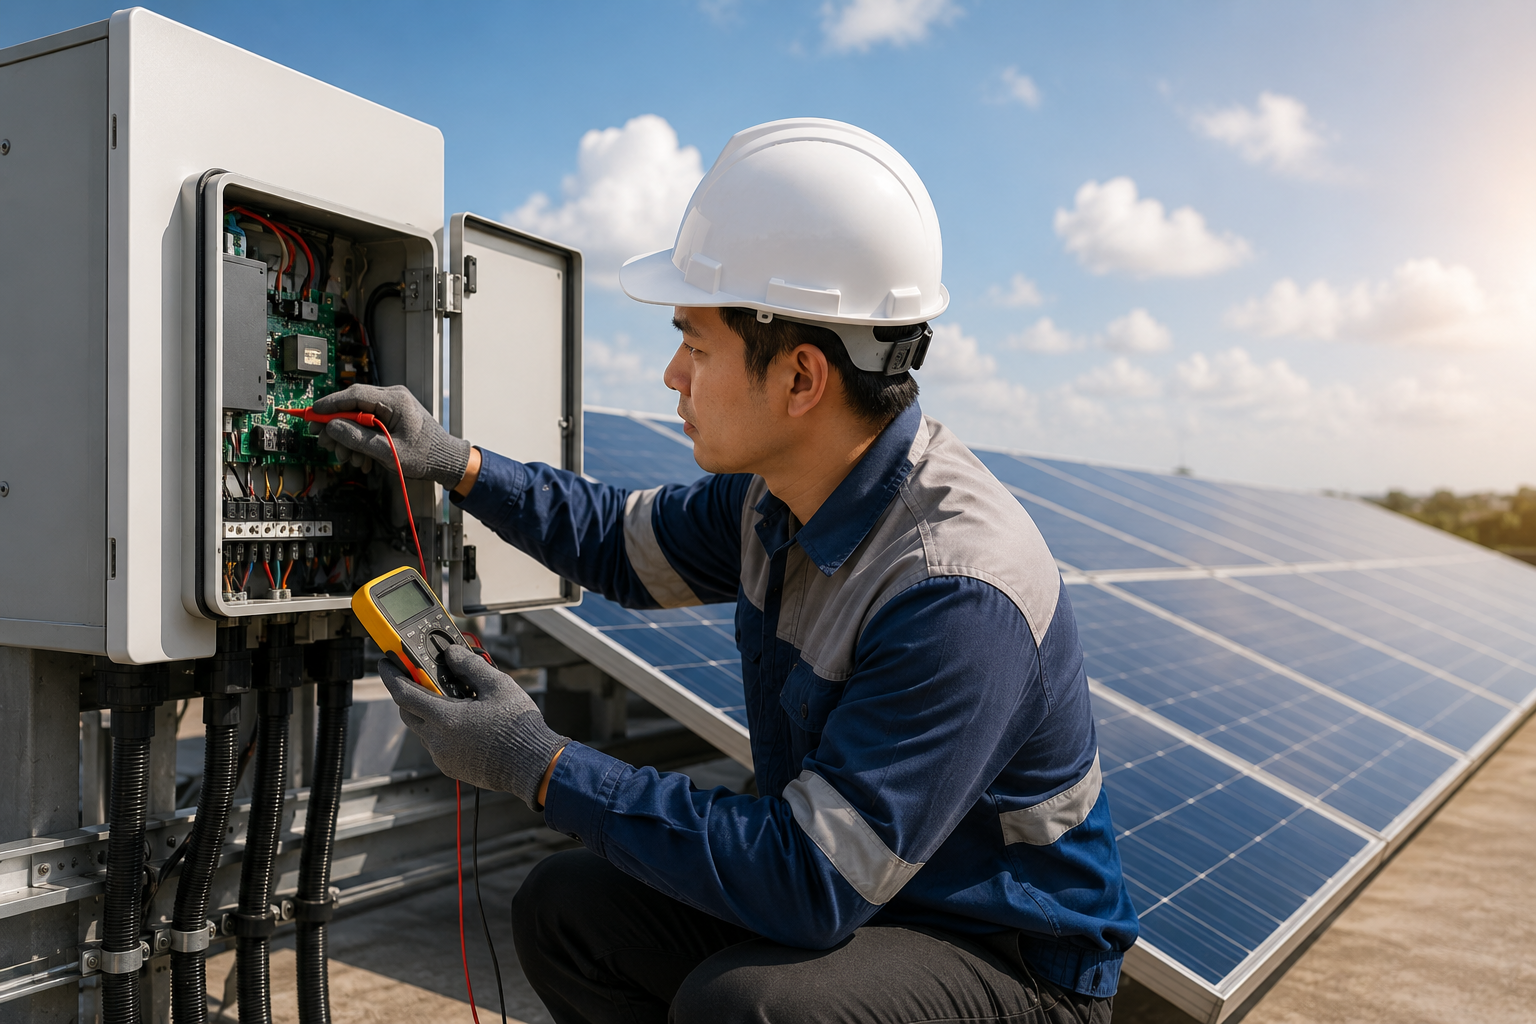
This work must be performed by qualified personnel to minimize electrical leakage, overheating, short circuits, and energy losses.
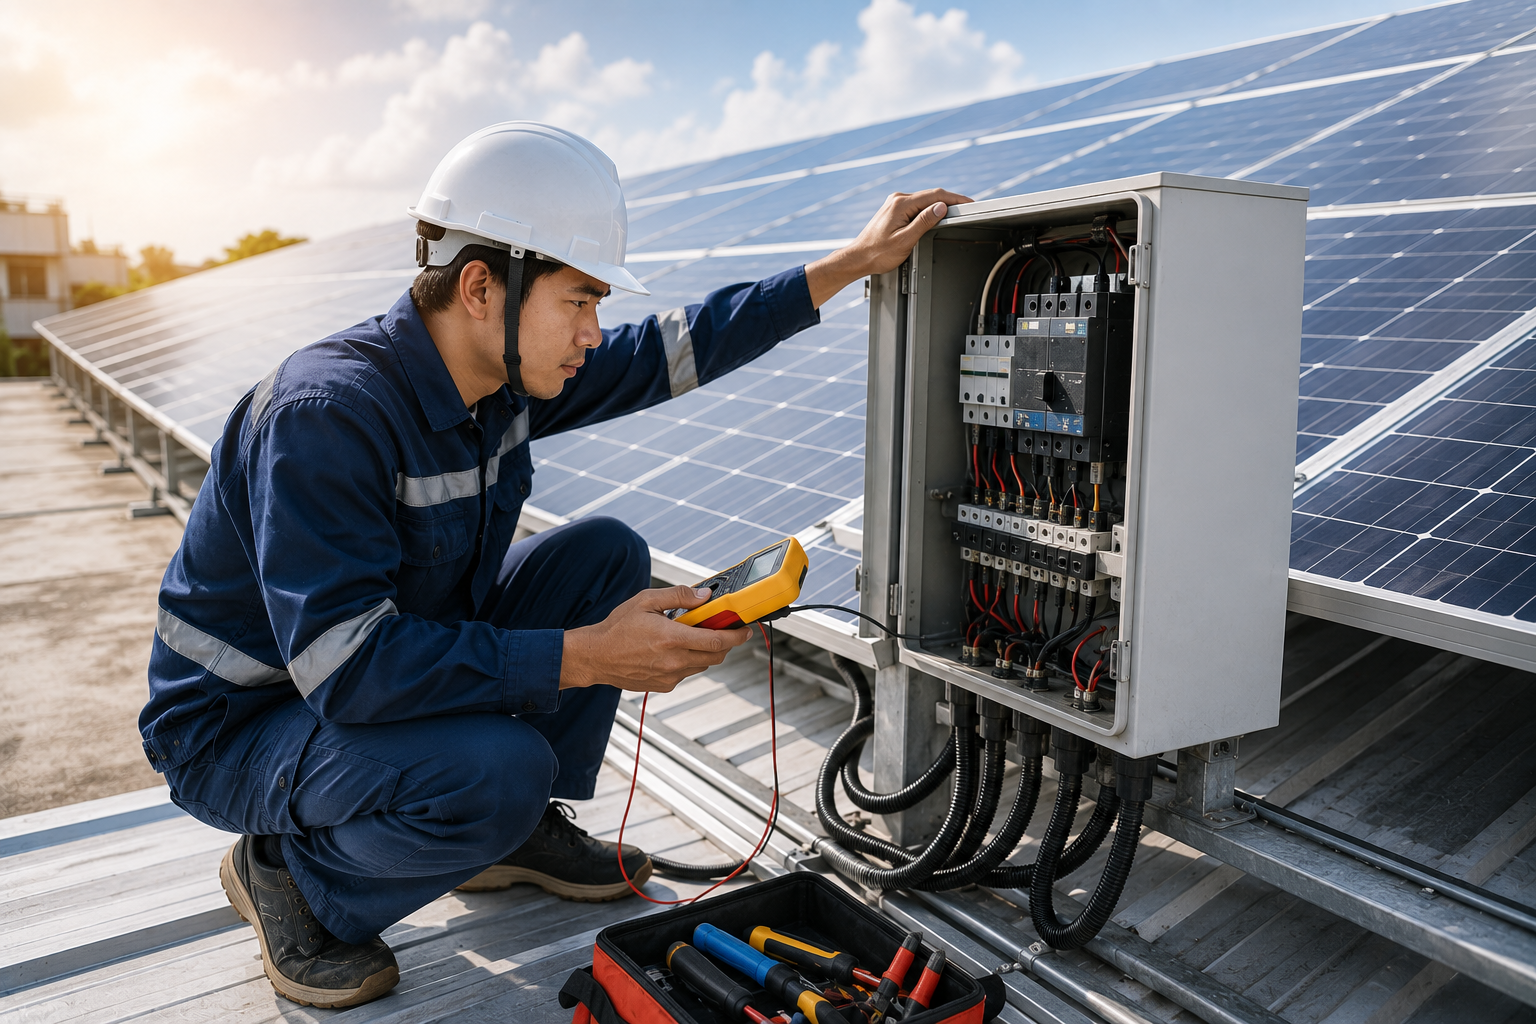
After installation, the system must be inspected before being put into operation. Typical checks include:
Mounting structure and panel stability
Voltage and current of each string
Cable polarity
Insulation resistance
Grounding system
Switching and surge protection devices
Inverter operation
Battery charging and discharging
Backup power transfer during grid outages
Monitoring software connectivity
The system should only be handed over once its operating parameters meet the design requirements.
The installation provider works with the customer to verify the completed work, equipment, and system performance. Handover documentation may include:
As-built drawings
Equipment inventory
Operating instructions
Warranty documents and terms
Inspection and acceptance records
Monitoring account information
Recommended maintenance schedule
Customers should receive guidance on monitoring energy production, recognizing alerts, and handling basic operating situations.
After handover, the system requires periodic monitoring and maintenance to maintain performance. Typical maintenance tasks include:
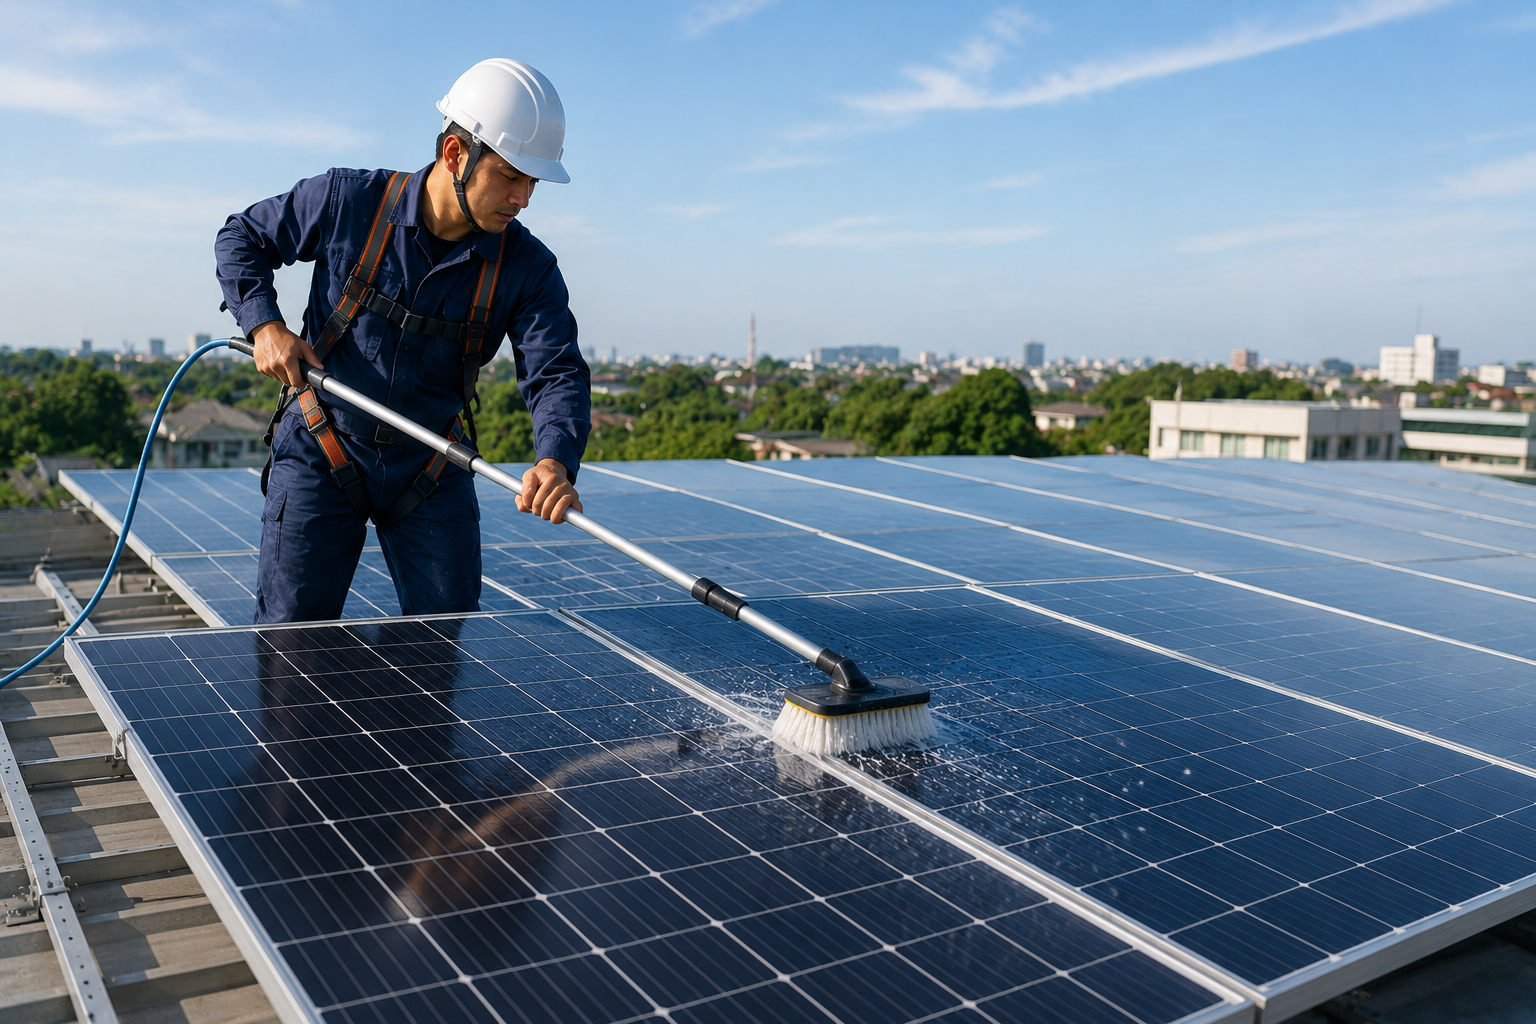
Cleaning solar panel surfaces
Inspecting mounting structures and fasteners
Checking cables and connectors
Measuring electrical parameters
Inspecting the inverter and electrical panels
Monitoring battery condition
Checking grounding and lightning protection
Analyzing energy production data
If energy production s unexpectedly, technicians should investigate the cause and take corrective action promptly.
Installation time depends on system capacity, roof structure, equipment quantity, and site conditions. Small projects may be completed within a few days, while systems for factories and industrial parks generally require more time for surveys, design, material preparation, and installation planning.
The specific schedule should be agreed upon after the site survey and finalization of the technical solution.
Customers should evaluate the provider's overall capabilities rather than compare prices alone. Key criteria include:
Conducts site surveys before providing quotations
Can analyze electricity load profiles
Provides clear technical drawings and proposals
Specifies equipment origins and technical ratings
Employs qualified installation personnel
Follows inspection and acceptance procedures
Offers transparent warranty policies
Provides monitoring and post-installation support
The solar power system design and installation process involves multiple stages, from requirement assessment, site surveys, capacity calculations, and equipment ion to installation, commissioning, and maintenance. Completing each stage properly helps ensure the system meets actual electricity demand, operates reliably, and minimizes unexpected costs.
Households, businesses, and project owners should choose a provider capable of delivering integrated consulting, design, equipment supply, and installation services. A properly engineered solution from the beginning helps maximize the benefits of solar energy throughout the system's operating life.
CATEGORIES
What Are the Main Components of a Solar Energy Storage System?
Solar Power System Design And Installation Process
How To Choose The Right Solar Panels
What Is A Solar Inverter? Its Role In A Solar Power System
When Should A Solar Power System Be Maintained?
How To Clean Solar Panels Properly
Signs That Your Solar Power System Needs Inspection Or Repair
Featured Products & Services
*YOU MAY ALSO LIKE
Contact us at Hotline: 0983 428 916 for consultation on solar energy equipment, system design, installation, and maintenance services.
Address: No. 105 Hoang Van Thai Street, Phuong Liet Ward, Ha Noi, Vietnam
Hotline: +84 983428916
Email: info@lochoangan.com
Loc Hoang An Tech specializes in consulting, designing, supplying equipment, and installing solar power systems for businesses, factories, industrial parks, commercial buildings, households, and civil construction projects nationwide.
LOC HOANG AN TECHNOLOGY GROUP JOINT STOCK COMPANY
Address: No. 105 Hoang Van Thai Street, Phuong Liet Ward, Ha Noi, Vietnam
Hotline: +84 983428916
Email: info@lochoangan.com
LOC HOANG AN TECHNOLOGY GROUP JOINT STOCK COMPANY
Địa chỉ: No. 105 Hoang Van Thai Street, Phuong Liet Ward, Ha Noi, Vietnam
Business Registration Certificate No. 0109587058 – Issued by the Department of Planning and Investment of Hanoi on April 07, 2021
Person responsible for content: Mr. Hien
@ Copyright by LOC HOANG AN TECHNOLOGY GROUP JOINT STOCK COMPANY. Designed by Vietnam Yellow Pages.